
If you have any questions about how to assemble the outer box, please access this link: Outer box assembly instructions.
Table of Contents
Sorting cardboard inserts for the console and accessories
These instructions explain, step by step, how to assemble the inner sorting cardboard inserts that are placed inside the outer box of the video game console. The purpose of these cardboard inserts is to protect, organise and separate the console and its accessories, controllers, cables, adapters, etc., for both home consoles and handheld consoles.
Before starting, read the instructions carefully.
1. Contents received
For home console boxes, the following items are included:
- 1 main cardboard template (inner box).
- 1 inner divider (separate cardboard piece).
Note: The divider can be positioned in different locations depending on the user’s requirements.
For handheld console boxes, the following item is included:
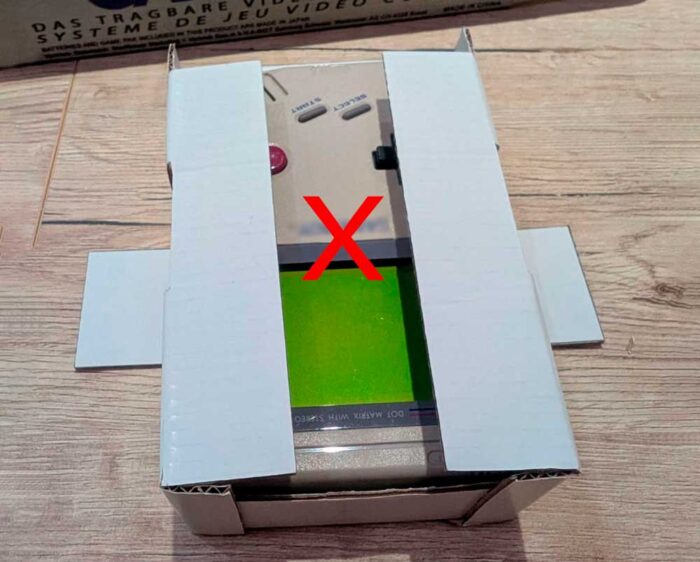
Only the template whose assembled result allows the handheld console and its accessories to be organised within a single component.
2. Template description
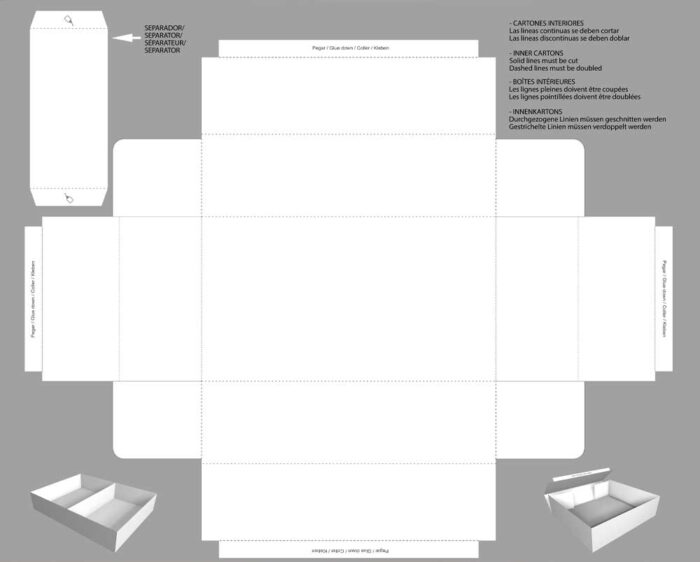
Carefully examine the received cardboard template and the two types of lines (solid and dashed):
Template of the inner cardboard inserts for home console boxes
Template of the inner cardboard inserts for handheld console boxes
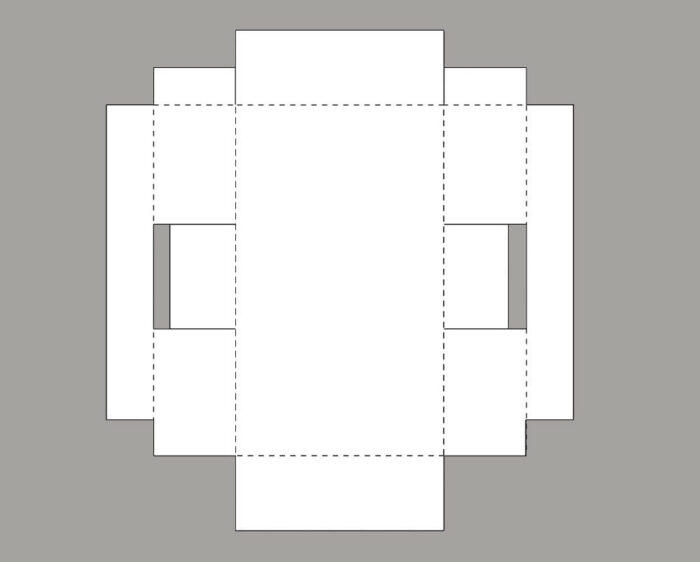
- Completely remove the grey area, leaving only the template.
- Solid lines: indicate the areas that must be cut (always).
- Dashed lines: indicate the areas that must be folded (never cut).
Always follow these instructions to ensure correct assembly.
3. Required tools
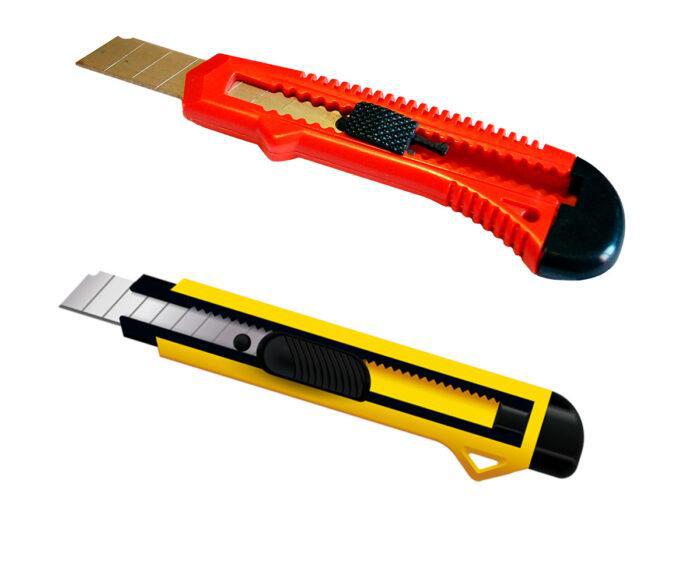
- A new craft knife or a knife fitted with a new blade.
- Work on a flat, stable surface.
- A suitable adhesive for cardboard, such as gel school glue or hot-melt glue (faster drying). Loctite super fast glue may also be used, but with care.
4. Assembly of the inner box
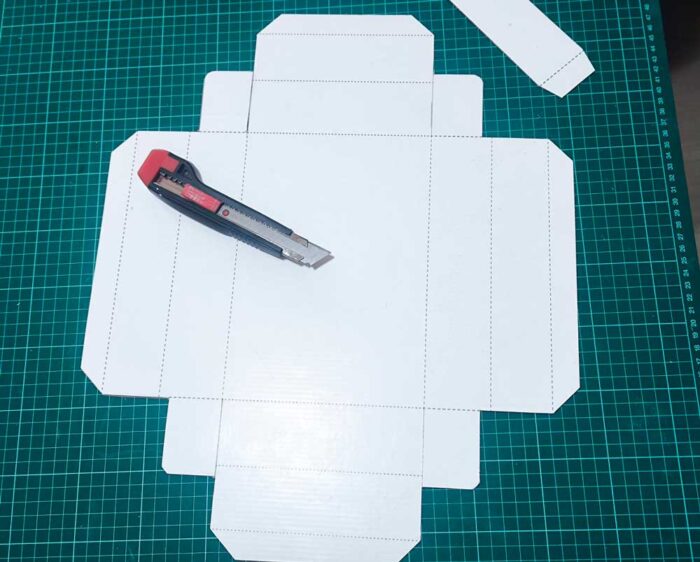
Cutting the template for home consoles
- Place the main template on a flat surface.
- Carefully cut along all the solid lines of the outer perimeter and the indicated inner sections.
- Ensure that the dashed lines are not cut.
Cutting the template for handheld consoles
- Place the main template on a flat surface.
- Carefully cut along all the solid lines of the outer perimeter and the indicated inner sections.
- Ensure that the dashed lines are not cut.
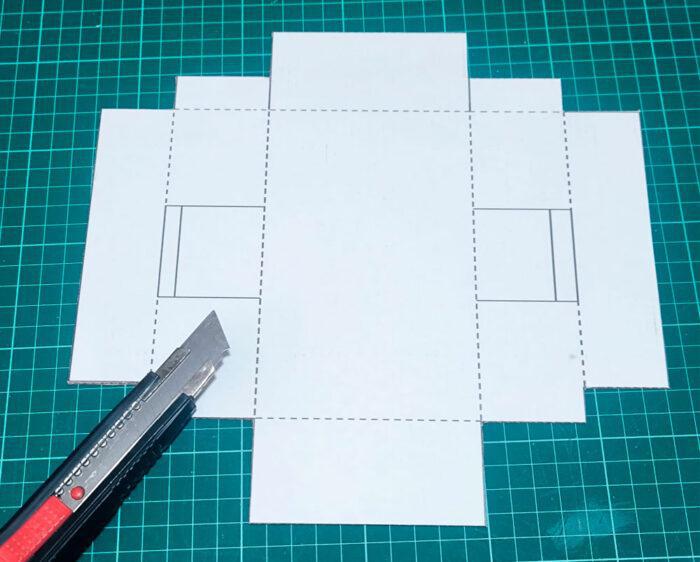
Scoring the fold lines
- Before folding, firmly score all the dashed lines to facilitate folding (without cutting all the way through). You may use any pointed (but non-cutting) tool, such as a screwdriver or a pen.
- Make the folds cleanly and precisely so that the walls remain straight.
Scoring the fold lines on the home console template
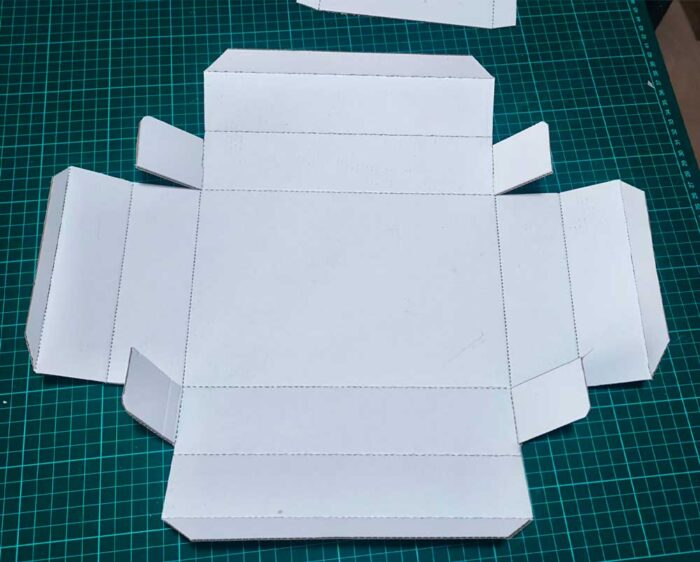
Scoring the fold lines on the handheld console template
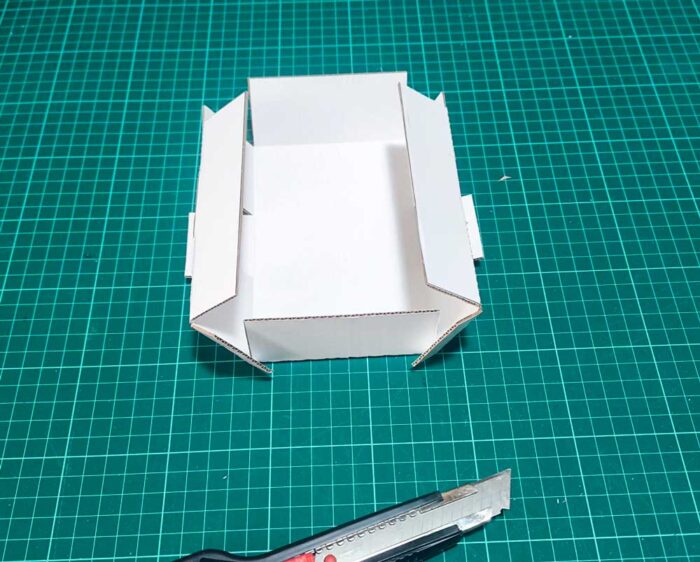
Forming the walls on the home console templates
- Raise the main side panels of the template along the fold lines.
- Continue folding the faces until the basic structure of the inner box is formed.
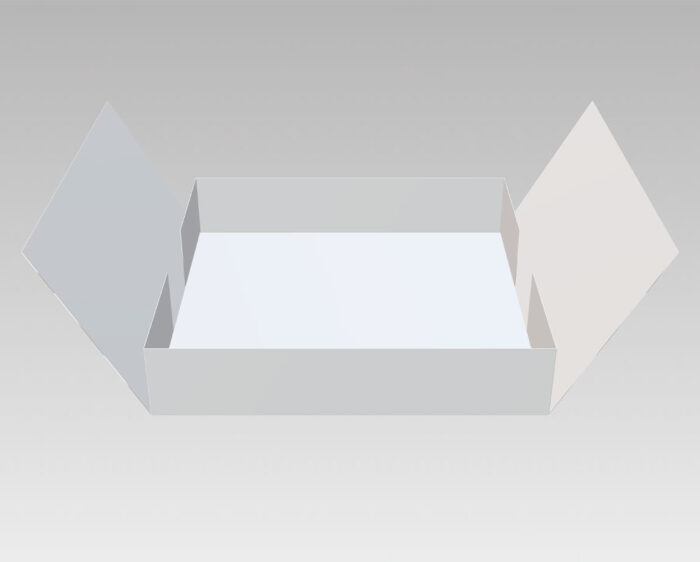
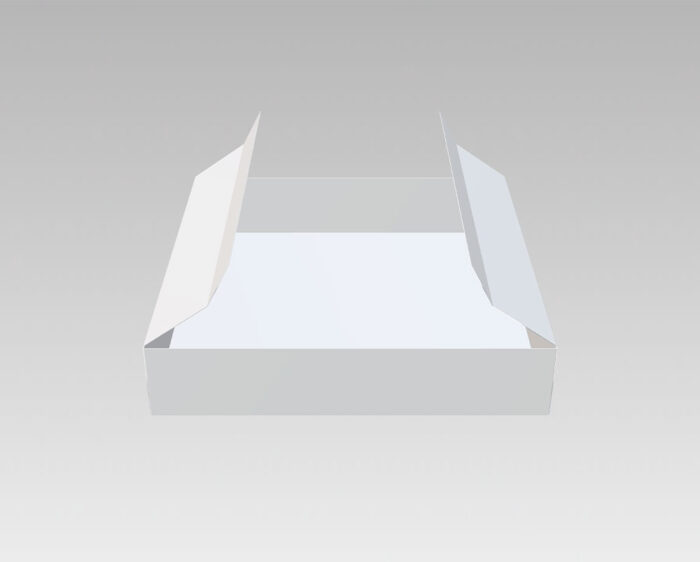
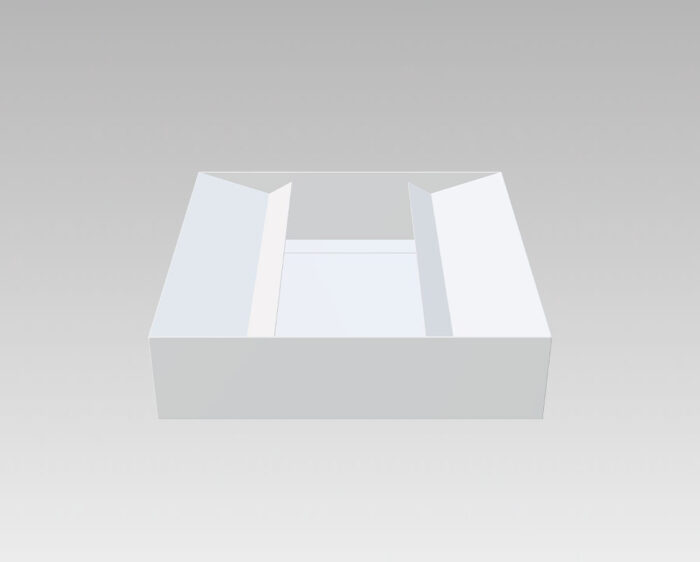
Explanatory video
- Apply the above-mentioned adhesive to the glue tabs indicated on the template.
- Secure each tab to its corresponding wall, maintaining pressure for the time recommended by the adhesive manufacturer.
- Check that the box is stable and that all angles are square.
Forming the walls for handheld consoles
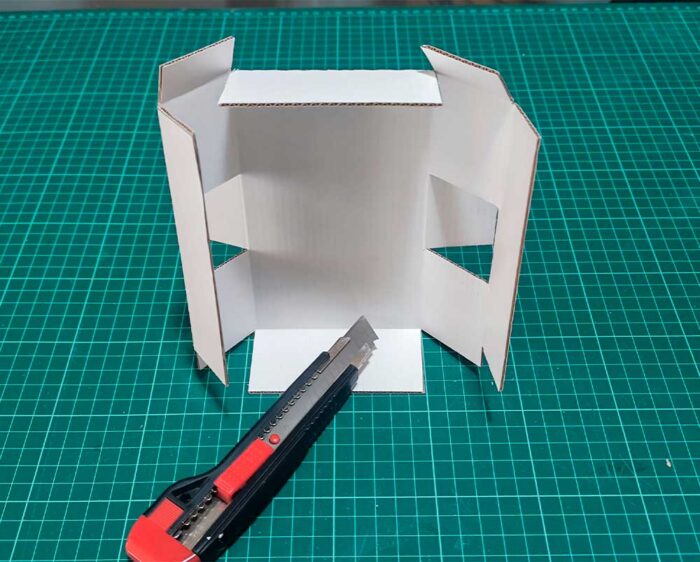
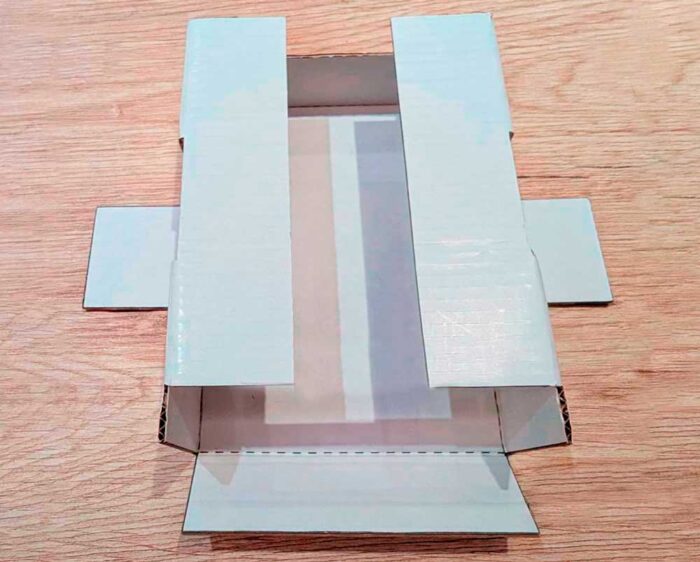
5. Assembly of the inner divider in the home console box
Cutting the divider
- Recorte el separador siguiendo las líneas continuas.
- Doble las zonas indicadas por líneas discontinuas, serán las solapas donde aplicar el pegamento.
Positioning the divider
- Insert the divider into the inner box.
- Place it in the position that best suits the contents:
- To separate the console from the accessories.
- To create compartments for controllers, cables or other items.
- Adjust the divider by pressing it until it is properly fitted and stable.
- The divider will remain movable if no adhesive is applied to it and can be positioned according to the user’s preferences.
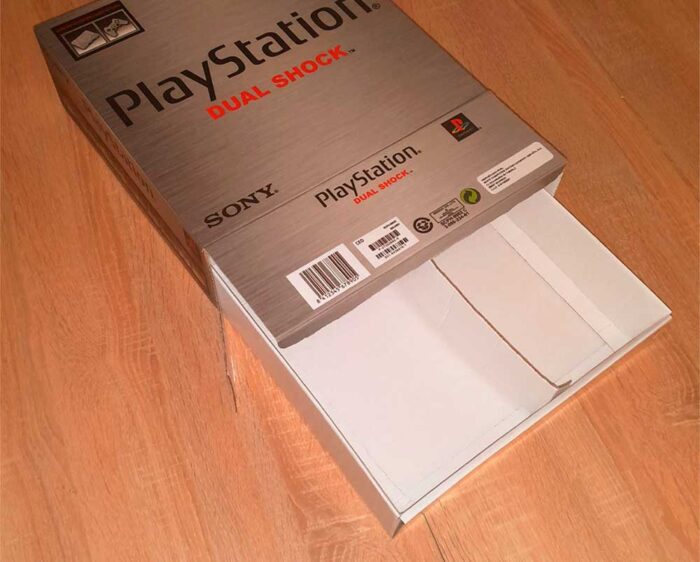
6. Final result
Once assembly is complete:
- The inner box should be fully assembled and sturdy.
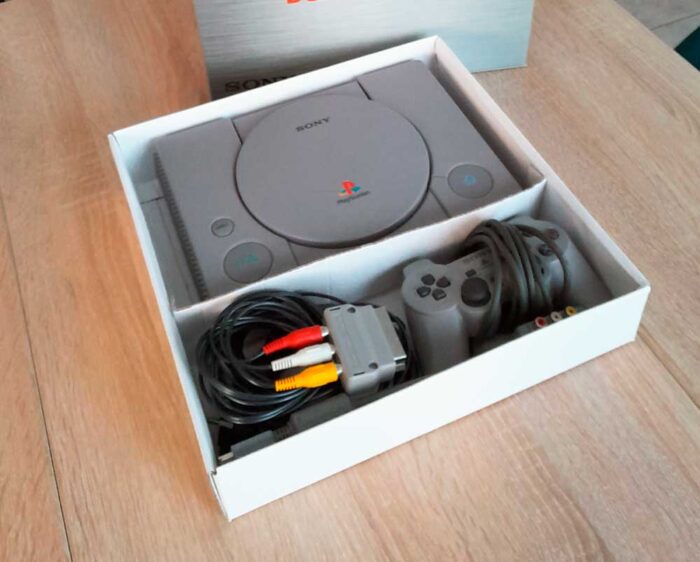
- The divider should split the interior into functional compartments.
- The assembly is now ready for the console and accessories to be placed inside before closing the outer box.
7. Final recommendations
- Do not force the folds: incorrect folding may weaken the cardboard.
- Always check that all components are securely held and do not move.
- Keep these instructions for future assemblies.